DirectAdmin and cPanel control panels are popular and powerful control panel tools specifically for hosting services, offering exceptional features for managing user services. These two control panels have been essential and mandatory parts of hosting management for years, with each hosting service selecting them according to its service management needs.
The method of transferring a backup from a supported host with the DirectAdmin control panel is a different process than restoring regular backups in cPanel. In cases where we want to transfer a backup from one cPanel host to another cPanel host, this option is pre-defined in the control panel, and we can do it that way.
However, there are times when we want to migrate from a DirectAdmin host to another host that uses the cPanel control panel. Performing this transfer is not possible in the traditional way and through pre-defined options due to the incompatibility of the backup creation format in DirectAdmin and cPanel, and this operation must be performed manually.
Creating a Full Backup in DirectAdmin Hosting
- First, we log in to our DirectAdmin account.
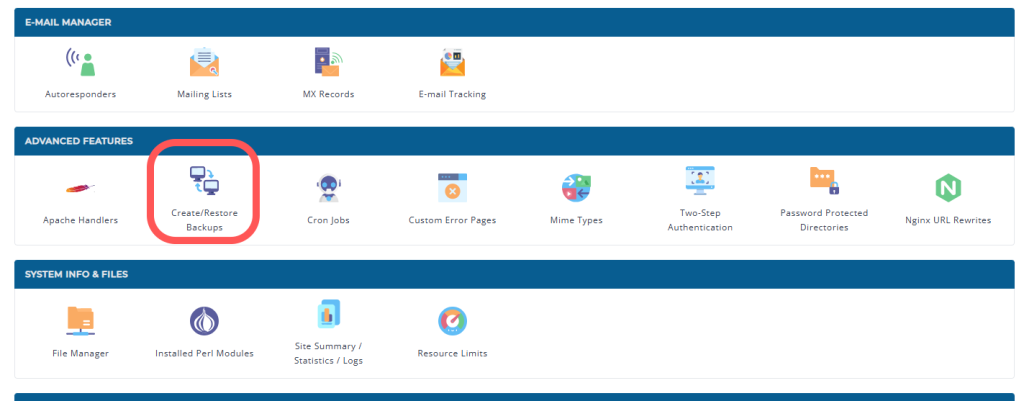
- On the main page of the control panel, in the Advanced Features section, we enter Create/Restore Backups.
- First, specify whether you want to create a full backup of a specific domain on your hosting account, or whether you want to create a full backup file for all domains on your hosting account. This can be selected from the options available on the first page, and we will set it to All Domain to create a full backup file of all domains on our hosting account.

- Select all the available options to include all parts of your hosting account in the full backup file.
- Then select the CREATE BACKUP option to create your full backup.

- After completing the full backup file creation process, you will receive an email confirming the completion of the full backup file creation. The full backup file is also accessible at this path: DirectAdmin > File Manager> Backups
Transferring the Full Backup File from DirectAdmin to cPanel and Starting the Restoration on the Hosting
After creating the backup file in DirectAdmin hosting, download it and upload it to your cPanel hosting. It is best to place the file in the main hosting folder, i.e., public_html. You also need to pay attention to two important points. First, the “show hidden files” option must be enabled through the settings option in the file manager so that the hidden files in your backup are also displayed and can be transferred. And you should also note that the format of your full backup file should be .tar.gz.
Restoring public_html Data
- First, extract the full backup file in your hosting.
- Then, enter the folder that has been extracted. This folder is usually named after the full backup compressed file.
- In the folder, enter another folder called “home directory”. All folders related to the path of the previous hosting home and its information are located in this path.
Restoring the Database and Uploading Database Files to the New Host
- Enter the backed-up folder and then enter the mysql folder within it.
- In this path, you will find the database files related to the previous host, i.e., the DirectAdmin host. Download the files with the .sql extension to your system.
- Go to the Manage My Databases section in your cPanel hosting.


- Then create a new database and user in it. After that, add the new user to the database and give it all privileges so that it has full access to the database. These accesses are related to the main user; you can assign the desired accesses to each new user. Note that the name of the database and its user can be chosen, but the name of the database and user that you created in your host must be replaced in the configuration files of the codes or the previous CMS backup. For example, if you are transferring a backup of a WordPress site to your cPanel host, you must go to the wp-config.php file in the backup files and enter the new database specifications and name in it. The name of the new database and user can be inspired by the name in the wp-config.php file, but you should note that the name of the new host is mentioned in it.
- After creating the database and user, and connecting the user to it, go to phpMyAdmin in cPanel.
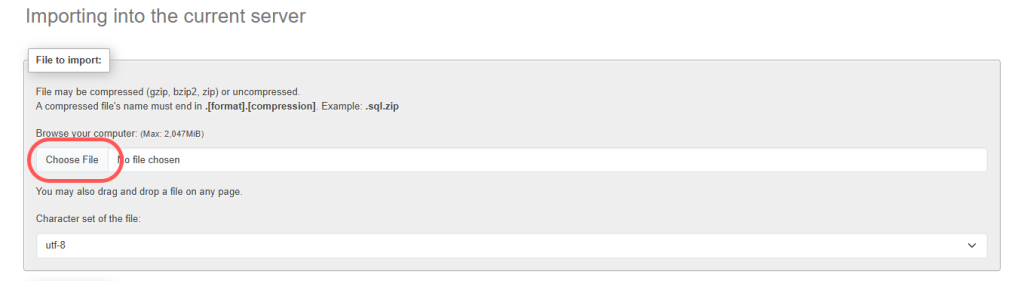
- Then, click on the name of your created database and go to the import tab within it.

- In the import tab, select Choose File and upload the .sql database file that was in the backup and that you downloaded to your system.
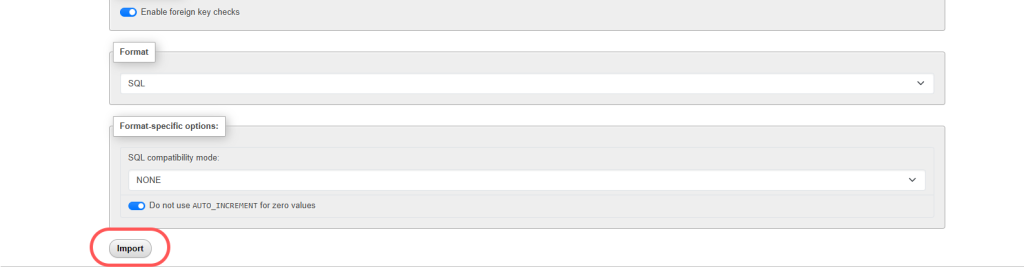
- After selecting the file, click on import to upload the file to your database.
Restoring the contents of the mail folder
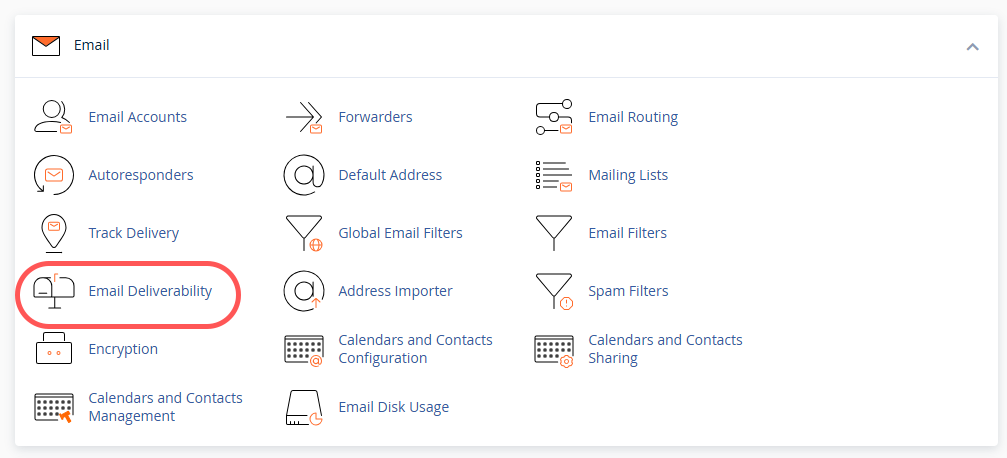
- In cPanel, go to the Email Accounts section and create your email accounts with the same specifications as in the DirectAdmin host.
- Similar to restoring the contents of the public_html folder, navigate to the main file of the full backup and then to the home directory within it.
- Then, copy the contents of the mail folder within the backup to the mail folder on your hosting account.