The “An internal error has occurred” error when connecting with Remote Desktop (RDP) usually occurs due to server-side settings or services and is often related to RDP configuration, local policies, or network connection issues. In this article, we will examine the problem and explore different solutions to fix it.
Before you start troubleshooting to fix the remote connection problem to your Windows server, check the following to ensure there are no issues:
- Check network and VPN connection.
- Administrator access to the server.
- Knowing the RDP port number (default 3389).
- Prepare a restore point or snapshot for the server if needed.
1. Restart the Remote Desktop Service
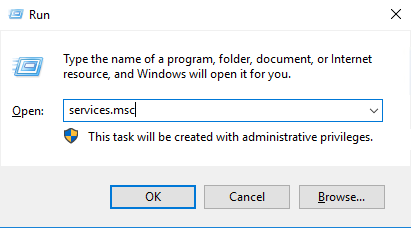
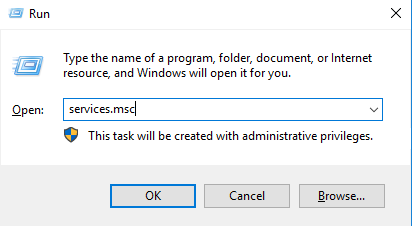
- Press Win+R keys, run services.msc.
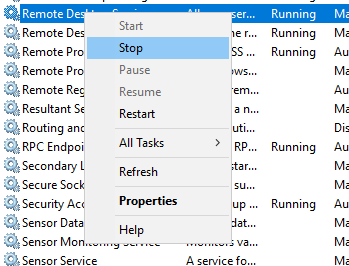
- In the Services window, find the Remote Desktop Services or TermService service.

- Stop and then Start or Restart the service.
- Try connecting with RDP again.
2. Enabling Allow Remote Connections
- Go to File Explorer, right-click on This PC and open Properties.

- From the left panel, select Remote Desktop.
- Make sure the option Allow remote connections to this computer is enabled.
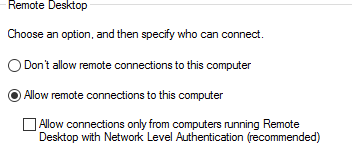
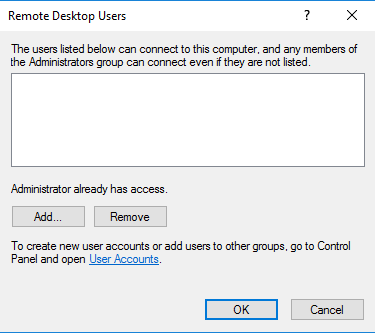
- If you need additional users, add them from Select Users.
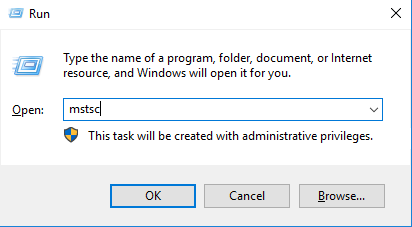
3. Checking Remote Desktop Client (MSTSC) Settings
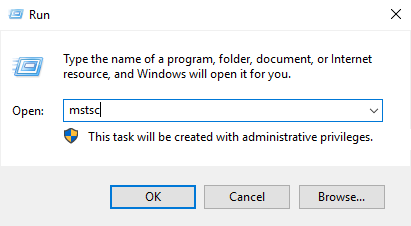
- Execute the mstsc command with Win+R.
- In the Remote Desktop window, click on Show Options.

- Open the Experience tab and check the Reconnect if the connection is dropped option.
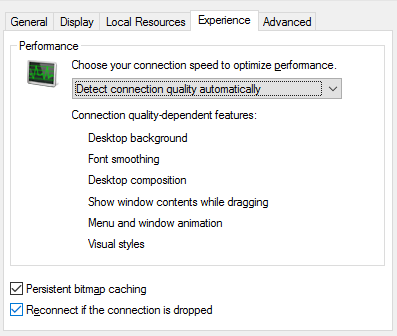
- Save the settings and try connecting again.
4. Temporarily Disable Network Level Authentication (NLA)
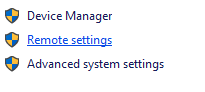
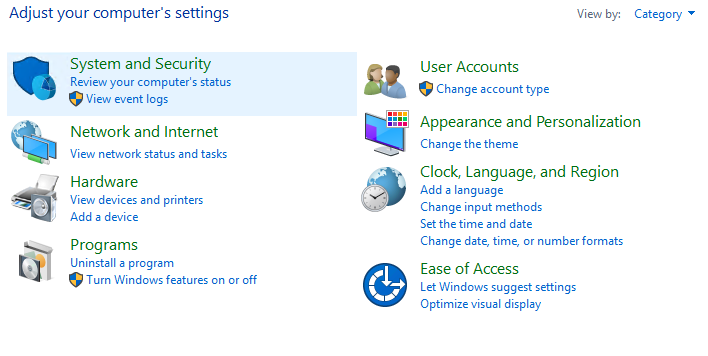
- Open the Control Panel and navigate to: System and Security → System → Advanced System Settings → Remote settings.


- In the Remote Desktop section, uncheck the option “Allow connections only from computers running Remote Desktop with Network Level Authentication (recommended)”.

Note: This is a temporary change. After resolving the issue, it is best to re-enable NLA.
5. Setting Startup Services to Automatic
- Execute the command services.msc through the RUN window.
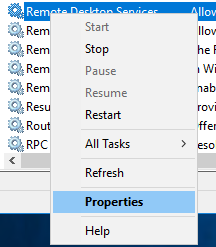
- Find the Remote Desktop Services service, right-click on it, and click on Properties.
- Set the Startup type to Automatic or Automatic (Delayed Start).
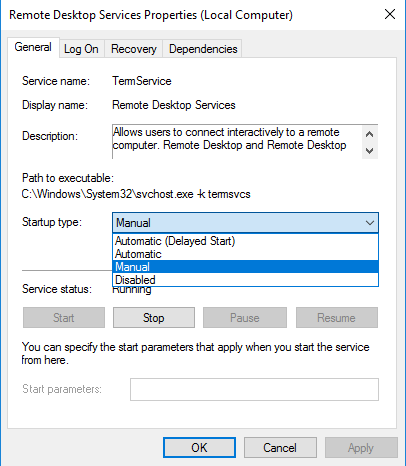
- Start the service and check the connection.
6. Disabling Static IP (Using DHCP)
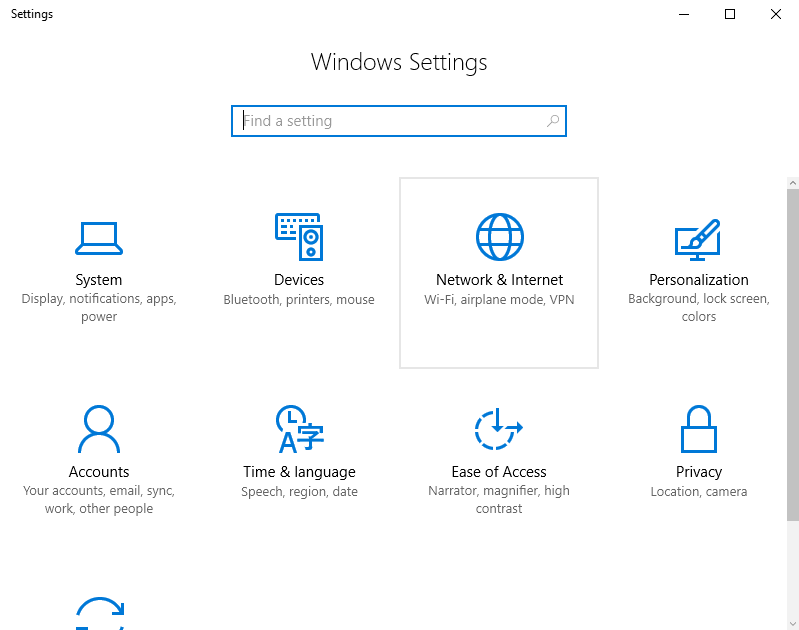
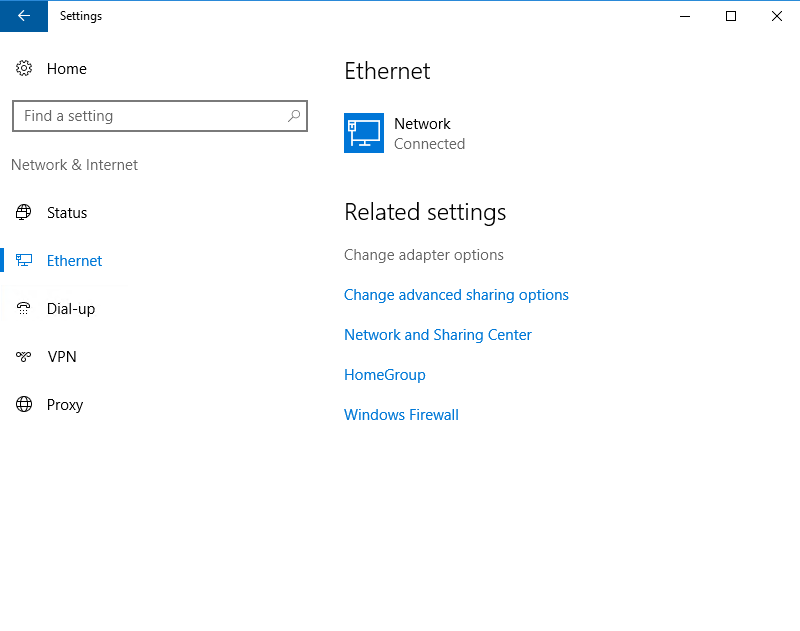
- Go to this path in your system’s Settings:
Settings → Network & Internet → Ethernet (or Wi‑Fi).
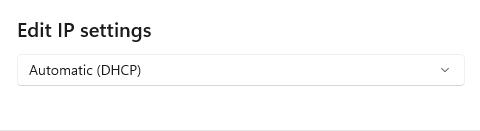
- Click Edit next to IP assignment.

- Change the IP assignment from Manual to Automatic (DHCP).
- Restart the system.
7. Disable Local Proxy/VPN
- Open the RUN window again and execute inetcpl.cpl.
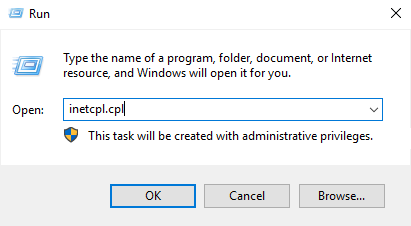
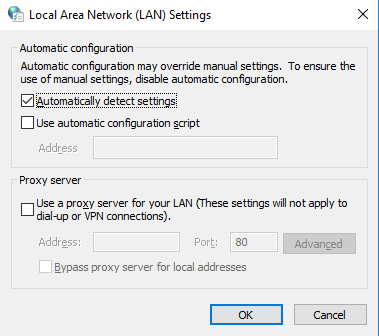
- In Internet Options, open the Connections tab → LAN Settings.
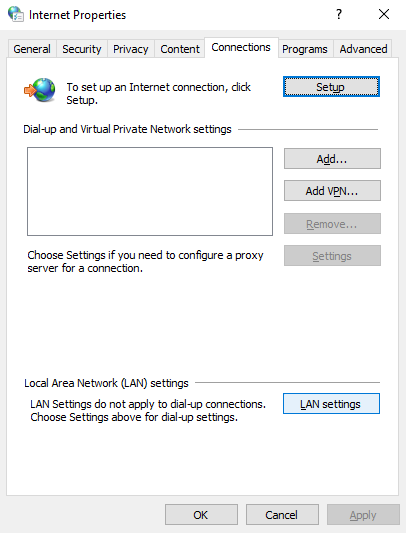
- Uncheck Use a proxy server for your LAN.
- Restart the system and test the RDP connection.
8. Modifying Local Security Policy
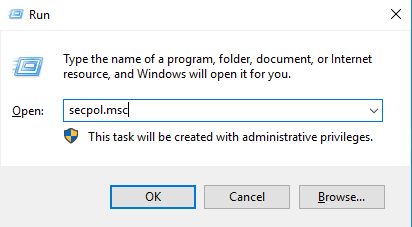
- Win+R → Run secpol.msc.
- Go to Local Policies → Security Options.
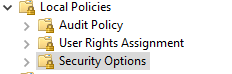
- Check settings such as System Cryptography: Use FIPS compliant algorithms and, if it is enabled and causing problems, disable it.
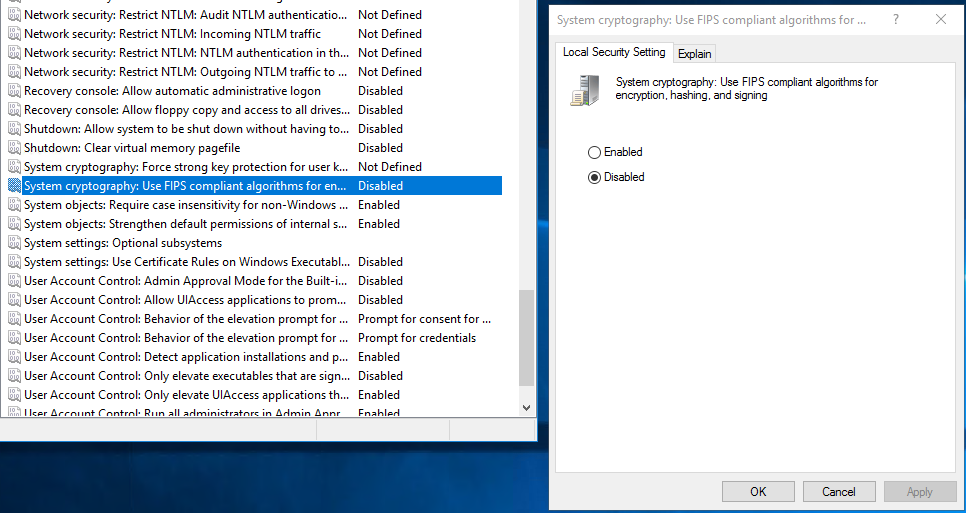
- Restart the system.
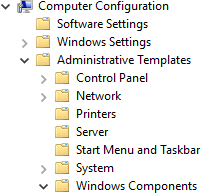
9. Configuring RDP Security in Group Policy Editor
- Enter Win+R → gpedit.msc.

- Enter the following path:
Computer Configuration → Administrative Templates → Windows Components → Remote Desktop Services → Remote Desktop Session Host → Security.
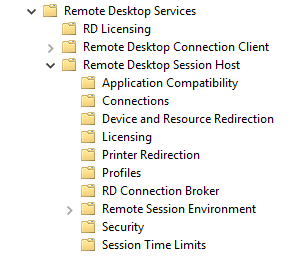
- Edit the Require use of specific security layer for remote (RDP) connections setting and enable or disable it as needed to apply the appropriate security layer.
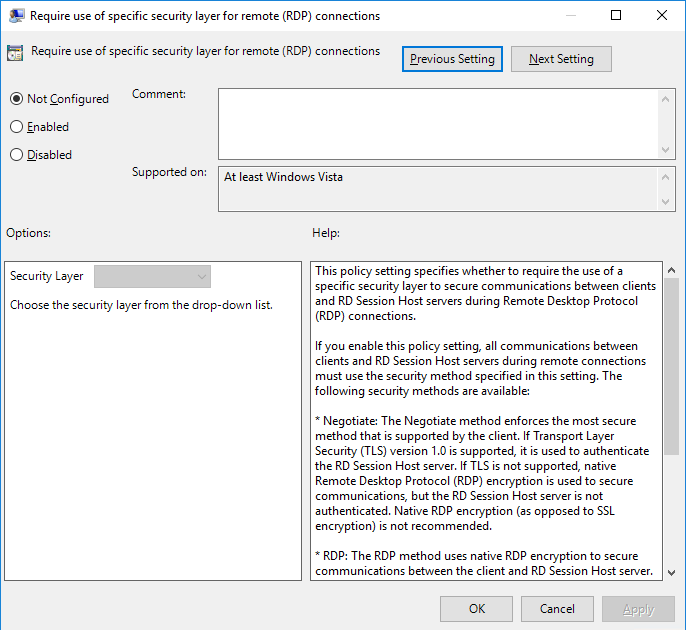
- Restart the system.
10. Opening the Firewall Port for RDP
Sometimes, the destination server may block your RDP connection. Ports play an important role in establishing communication with the destination server. It should be noted that server configurations for user communication establish the connection by default through port 3389.
If you need to use a different port for the connection, you need to define the desired port address in your system’s firewall.
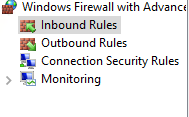
- Enter your firewall settings through the following path:
Administrative Tools → Windows Defender Firewall with Advanced Security.
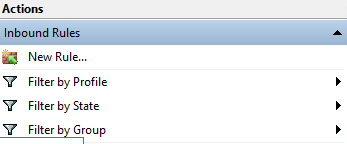
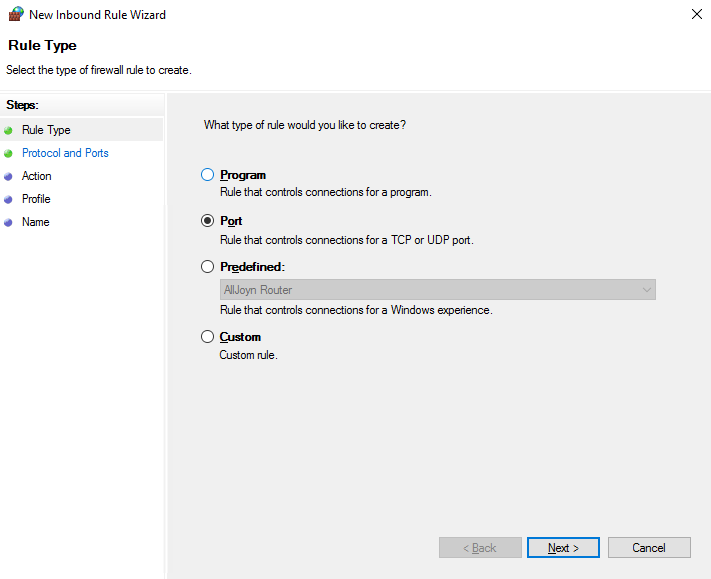
- Enter your desired port as follows:
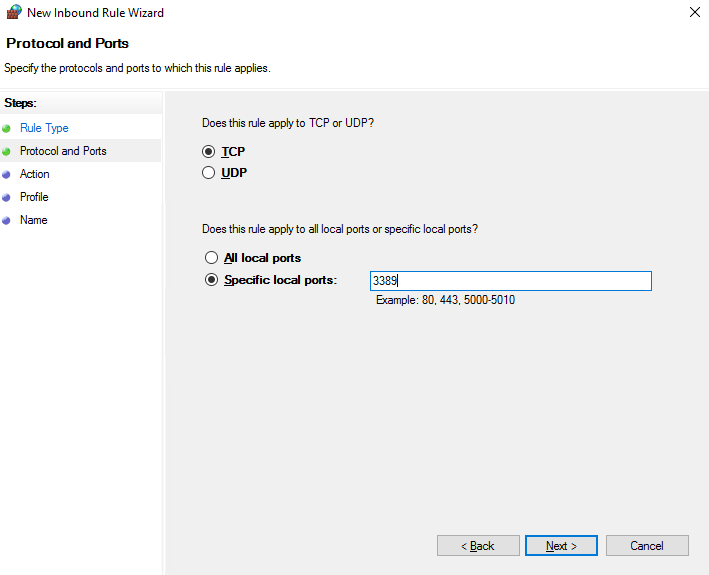
Inbound Rules → New Rule → Port → TCP → Port 3389 (or your custom port).
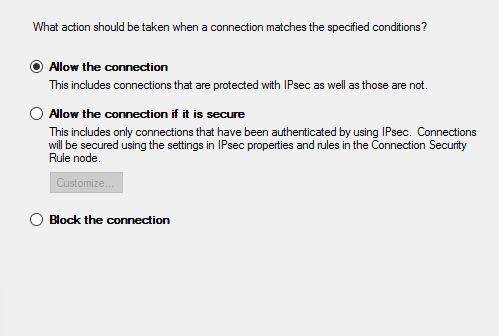
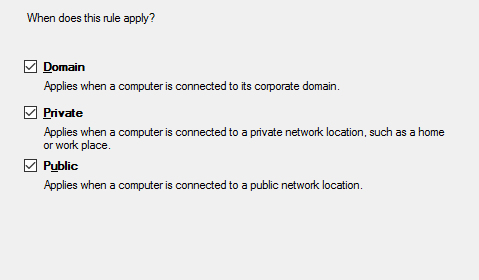
- Action → Allow the connection; Profile → Check Domain / Private / Public as needed.
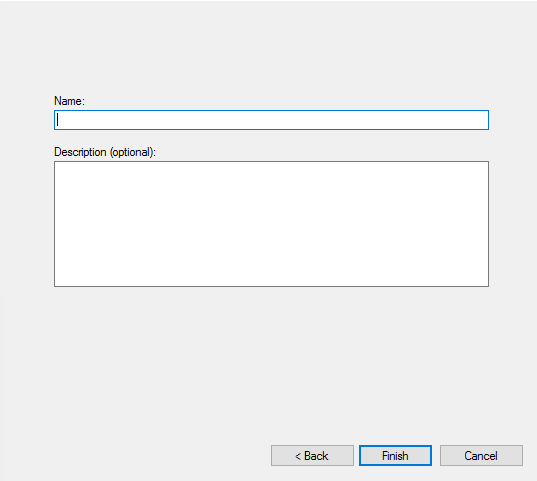
- Name the rule and click on Finish. Then test the connection.
11. Enable Persistent Bitmap Caching on the Client
- Go to Win+R → mstsc.
- Show Options → Experience tab → Check Persistent bitmap caching.
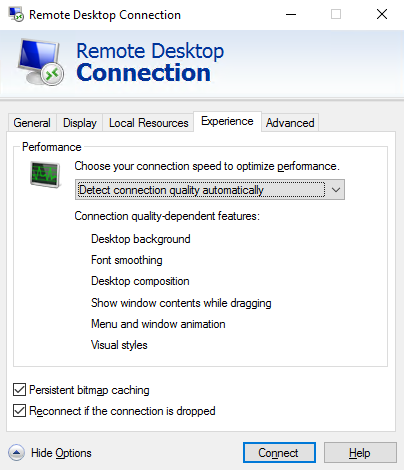
- Reconnect; this option can improve connection stability in some cases.
And finally;
First, restart the services and check the general RDP settings and Experience settings.
If the problem persists, check the following in order: Firewall and ports, NLA, Local Security / Group Policy, network settings (IP, VPN, proxy), and finally MTU.
After each change, restart the system or related services and test the connection.
If the issue persists after trying these solutions, check the Event Viewer logs for errors related to Remote Desktop or network services.