
If you have a WordPress website, you’ve probably encountered the issue of your site’s emails not being sent at least once; emails like contact forms, membership notifications, sales invoices, password recovery, and more.
In most cases, the reason for this problem lies in how WordPress sends emails by default. WordPress uses the PHP Mail function by default, a method that is not only unreliable but also often restricted by hosting providers.
This is where the SMTP protocol and the WP Mail SMTP plugin come into play. In this article, we will explain what SMTP is, why you should use it, and how to install and configure the WP Mail SMTP plugin in WordPress.
What is SMTP and Why is it Important for WordPress?

SMTP, or Simple Mail Transfer Protocol, is a standard protocol for sending email over the internet. All professional email services (such as Gmail, Outlook, Mailgun, and dedicated email servers) use this protocol to transmit users’ emails.
Unlike PHP Mail, which only submits the message to the server and offers no delivery guarantee, SMTP manages and verifies the email sending process step-by-step.
Why Should We Use SMTP?
Using SMTP offers the following advantages:
- Increased Email Deliverability
Your website’s emails are less likely to be marked as spam and almost always reach the recipient’s inbox. - Authentication
SMTP uses a username + password or API key, significantly increasing the security of email sending. - Greater Compatibility with Hosting and Servers
Most hosting companies limit email sending with PHP Mail. SMTP completely resolves this issue. - Better Email Status Monitoring
Many SMTP services offer reporting and email log review capabilities.
What is WP Mail SMTP?
WP Mail SMTP is one of the most popular WordPress plugins for configuring SMTP, allowing you to easily connect WordPress to email sending services. With this plugin, you can:
- Connect WordPress to Gmail, Outlook, Yahoo, your hosting SMTP, a virtual server SMTP, or professional SMTP services.
- Choose a secure sending method such as TLS or SSL.
- Send a test email to ensure your settings are correct.
- View WordPress email logs.
Installing the WP Mail SMTP Plugin
1. Log in to the WordPress Dashboard
Log in through the following address:
yourdomain.com/wp-admin
2. Go to the Plugins Section
From the right-hand menu, click on:
Plugins ← Add New

Click on it.
3. Search for WP Mail SMTP
Enter WP Mail SMTP in the search box.

A plugin named WP Mail SMTP by WPForms will appear.
4. Install and Activate
Click on the Install Now button, and then click on Activate.

The plugin is now installed and ready for configuration.
Configuring the WP Mail SMTP Plugin
After activating the plugin, navigate to the following path:
Settings → Email
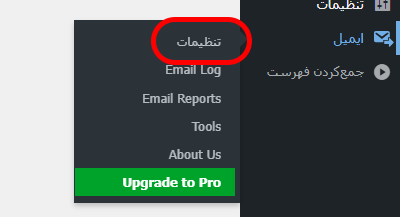
On this page, you will find several main sections for settings, which we will review step-by-step.
1. Setting the Sender Email Address and Sender Name
Sender Email

This is the email address from which all site messages will be sent. It is usually one of the following:
- A domain email such as
info@yourdomain.com - An email from your virtual server SMTP
- An external provider such as Gmail
Important Note:
If you are using a domain-based email address, you must create it in your hosting control panel (cPanel or DirectAdmin) before configuring it in the plugin.
Sender Name

This is the name that the recipient will see in the email sender section.
For example:
Website Support
To ensure this value remains consistent, you can enable the Force From Email and Force From Name options.
2. Choosing the Email Sending Method (Mailer)

Hosting SMTP (Other SMTP)
If you are using shared hosting or a Virtual Private Server (VPS), the Other SMTP option is the best choice.
In this section, you need to obtain and enter the following information from your hosting provider:
- SMTP Host
(e.g.,mail.yourdomain.com) - SMTP Port
Common ports: 587 (TLS) or 465 (SSL) - Encryption
Typically TLS or SSL - Authentication
Must be enabled. - SMTP Username and Password
The same login credentials for the email account created in cPanel or DirectAdmin
Connecting to Gmail
If you want emails to be sent using Gmail, you should select the Gmail / Google Workspace option.
In this method, you need to create an App in Google Cloud and generate an OAuth Client ID. This method is more secure but slightly more complex for beginners.
Save Settings and Send a Test Email
After entering the SMTP information, click the Save Settings button.
Sending a Test Email
Go to the Email Test section in the plugin:
- Enter an email address.
- Click Send Email.
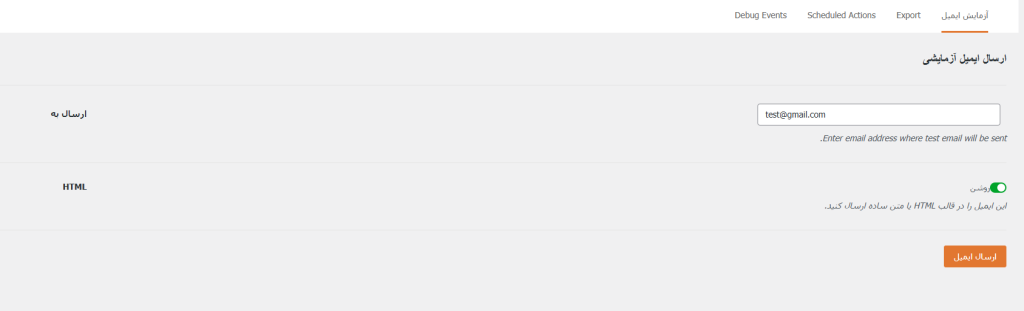
If everything is set up correctly, the message Email Sent Successfully will be displayed, and you will receive the test email.

If an error occurs, the following are usually the cause of the problem:
- Incorrectly selected port
- Firewall enabled on the server
- Incorrect email password
- The hosting does not support SMTP connection
- SSL/TLS activation is required
Using SMTP is one of the best methods to increase email deliverability and prevent WordPress messages from being marked as spam. If you haven’t installed this plugin yet, we recommend setting it up now to ensure that your site’s emails are always stable and reliable.